

I've been looking for just the right piece to paint for over a year. A hutch with arched glass cabinets with lots of room to store and stage pretty things. A piece to put on the empty wall in living room!
I found it in the most horrid, creepy, dirty thrift shop. I only went there because I saw it on Craig's List...and I'll never go back!!!
The style was right, the size was perfect and it was solid wood... and very ugly... and dirty.
But...
it was perfect for my living room and a perfect piece to paint...
In the story Alice in Wonderland, the Queen of Hearts, a very bossy and demanding woman, was ALL ABOUT the color red!!!
She loved red so much that even the her white roses became red! She ordered her card-shark knaves to slap a coat of red paint on the snowy blooms in her royal garden!
As I was painting my curtains, the song "Painting The Roses Red" from the Disney movie Alice In Wonderland kept running through my head!
But here at StoneGable, the zippy little tune went something like this...
"I'm painting the curtains white... I'm painting the curtains white... do-Do...do-Do...do-Do... do-Do...
I'm having a GIVEAWAY! A giveaway to celebrate a new venture for StoneGable! The giveaway details and link is at the bottom of this week's features. Hope you will join in!
If you have been featured, please grab a "featured" button on my sidebar!
Now let's see what great TUTORIALS, TIPS AND TIDBITS you have for us this week! Remember, any little tidbit will do!
* Please link your post using your permalink
* Please link back to TUTORIALS TIPS AND TIDBITS in the body of your post. You can find my button TTT button on my sidebar. No mass link page, please!
* Visit other TTT participants... let's all visit at least 3 others and comment
* Please link up only photographs that belong to you.
* It would be nice if you would follow me, thanks!
* If you would like to pin an image on Pinterest, please pin it from the original source, not StoneGable
* By participating, you are giving me permission to use your linked post and picture as a featured link in an upcoming TUTORIALS TIPS AND TIDBITS. I may also use your post and any image to alter for a TTT title page and facebook announcement.
If you think I have disappeared, you can find me in here... in the dining room. Bobby and I have been painting the wainscoting, windows and the walls!
What a big job!
We painted the wainscoting and windows the right color... Atrium White
and the walls the wrong color.
I't is really a beautiful color... Benjamin Moore Natural Wicker... but it looks nothing like the sample pint we painted on the walls here and there! It has too much yellow.
I'm now trying a few other colors...
Sometimes it feels like I am splitting hairs, but each color picks up the "pinks" in the atrium white, the "warmth" of the hardwood floors and the light differently.
I got a very very good tip from a designer at our local Benjamin Moore. I had gotten 4 pint paint samples to brush on in several locations around our dining room and living room and found them VERY DIFFERENT than the small card samples... I'm not talking somewhat different... I'm talking VERY DIFFERENT!
Our local designer suggested that I take the big page samples and place them around the room.They would be a truer color, as pints of paint can sometimes be quite off color. Who knew?
I tested her theory by getting a sample of natural wicker, the color we had just painted on the wall.
Eureka! She was right! A perfect match!
I think I have narrowed my search down. If I want a very light wall I think I'll go with seapearl. And if I want a little contrast I'll go with sonnet.
I was thinking I just might paint the living room and dining room with seapearl and paint the foyer that adjoins them in sonnet. Just thinking!
So for now I am painting. Hopefully by tomorrow we will have the dining room painted and I can move on to painting and covering the chairs.
HOT CHOCOLATE MIX from PINKIE FOR PINK is just perfect for this time of year... and it's easier than you think to make!
This is my kind of tutorial and tip...THE EASIEST, LAZIEST WAY TO CLEAN WAX FROM YOUR CANDLE JARS. Easy and lazy in the same tutorial!!! Courtenay from CREEK LINE HOUSE shared this sensible tip!!! Don't we all have cute candle jars we could reuse?
Aimee from IT'S OVERFLOWING shared HOW TO PRINT ON FABRIC USING A HOME PRINTER... what a great tutorials!!!! This is on my must-try list! Now if I could just find a tutorial on fixing my printer!
This easy and smart tip toSTORE BACON from FINELY GROUND was a very popular post last week! Marissa, I now am storing my bacon that way too! Great tip!
Here is a really outstandingKITCHEN CABINET MAKEOVER from RUSTIC AND REFINED. You need to see the before and afters!!! Great job Christine!
25 SWEET IDEAS FOR VALENTINES DAY from MARTY'S MUSINGS is a compilation of some fun Valentine's projects from the blogisphere! Goodness~ I better start thinking of Valentine's day now!
BLACK AND WHITE STAFFORDSHIRE from LYNNE'S GIFTS FROM THE HEART was the most popular post last week. Lynne shared how she set a stunning table using black and white and her Staffordshire dogs.
Here is another great use for a drop cloth... aPAINTER'S DROP CLOTH WREATH... from PAINTED THERAPY. This is a beauty!!!! What an easy and fun project!
Now for the GIVEAWAY....
To enter to win this handmade soft-as-a-cloud layette set clickHERE
It will truly be a family heirloom!
If you have been featured at TUTORIALS TIPS AND TIDBITS please grab a "Featured" button from my sidebar.
Now let's see what great TUTORIALS, TIPS AND TIDBITS you have for us this week!
* Please link your post using your permalink
* Please link back to TUTORIALS TIPS AND TIDBITS in the body of your post. You can find my button TTT button on my sidebar. No mass link page, please!
* Visit other TTT participants... let's all visit at least 3 others and comment
* Please link up only photographs that belong to you.
* It would be nice if you would follow me, thanks!
* If you would like to pin an image on Pinterest, please pin it from the original source, not StoneGable
* By participating, you are giving me permission to use your linked post and picture as a featured link in an upcoming TUTORIALS TIPS AND TIDBITS. I may also use your post and any image to alter for a TTT title page and facebook announcement.
I am so thankful for all of my blogging friends and dear readers! Thanks for your kind words and support! I wish everyone a blessed and happy Thanksgiving!
As I was sitting in the workshop in a darling cottage on a country farm... my head was swimming with wonderful stories and information and inspiration!
I had on a work apron and held a paintbrush in my hand and I was learning to coax beauty out of a piece of wood.
Bowls of creamy paints surrounded my workspace and encouraged me to give them a try!
It was a magical day!
Our teacher, Celeste Blumenauer owner of CATFISH CREATIVE FURNISHINGS infused the day with so much creativity and wonderful instruction and tips... I had to have her share some of her magic with you...
Wow 15 already! A big thanks to everyone who comes and shares and has made TTT a great creative place to visit! I am overwhelmed by all the talent and great project, tips and tidbits shared each week. I could go on and on... but really you just have to see all these great projects yourself!
Here are just a few examples...
Look at this fabulous TIERED TRAY!!!! Wouldn't you love to have this to decorate? It was the the most viewed post last week!
Karen from SHABBY SWEET COTTAGE made this beauty from a Goodwill find! Way to go, Karen!
This PAINTED INITIAL BURLAP PILLOW is perfect for fall! It looks so cozy and welcoming with a tartan blanket! Andrea at OPPULENT COTTAGE gave us an easy to follow tutorial for making this comfy personalized pillow!
Sophia, yourFALL TABLE CENTERPIECEis stunning! She shares tips and lots of great photos to inspire us! Run on over to LIVE BEAUTIFULLY... ON A BUDGET (after your visit here) and see her beautiful dining room and her new fall planter centerpiece!
Are you hungry? Well, you will be if you read aboutCHICKEN PARMESAN MEATLOAF from Alyssa at WHAT'S COOKING LOVE?
Ground chicken can tend to be a little dry... but look at the moist cheesy topping on this! I bet it is delicious!
This is going ON THE MENU!
Angie at ECHOS OF LAUGHTER shared5 EASY DECORATING TIPS. So full of creativity... and inexpensive!!! My kind of decorating!
What a great idea! Making your own blanket! Mary from AT HOME ON THE BAY shared here
If you can sew a straight line and measure this is a project that you can do! Making your own blanket opens up such great fabric options!
Jen from CITY FARMHOUSE shared a wonderfully detailed tutorial onPRINTING ON LINEN and also included FREE FALL PRINTABLES. These are more than adorable!
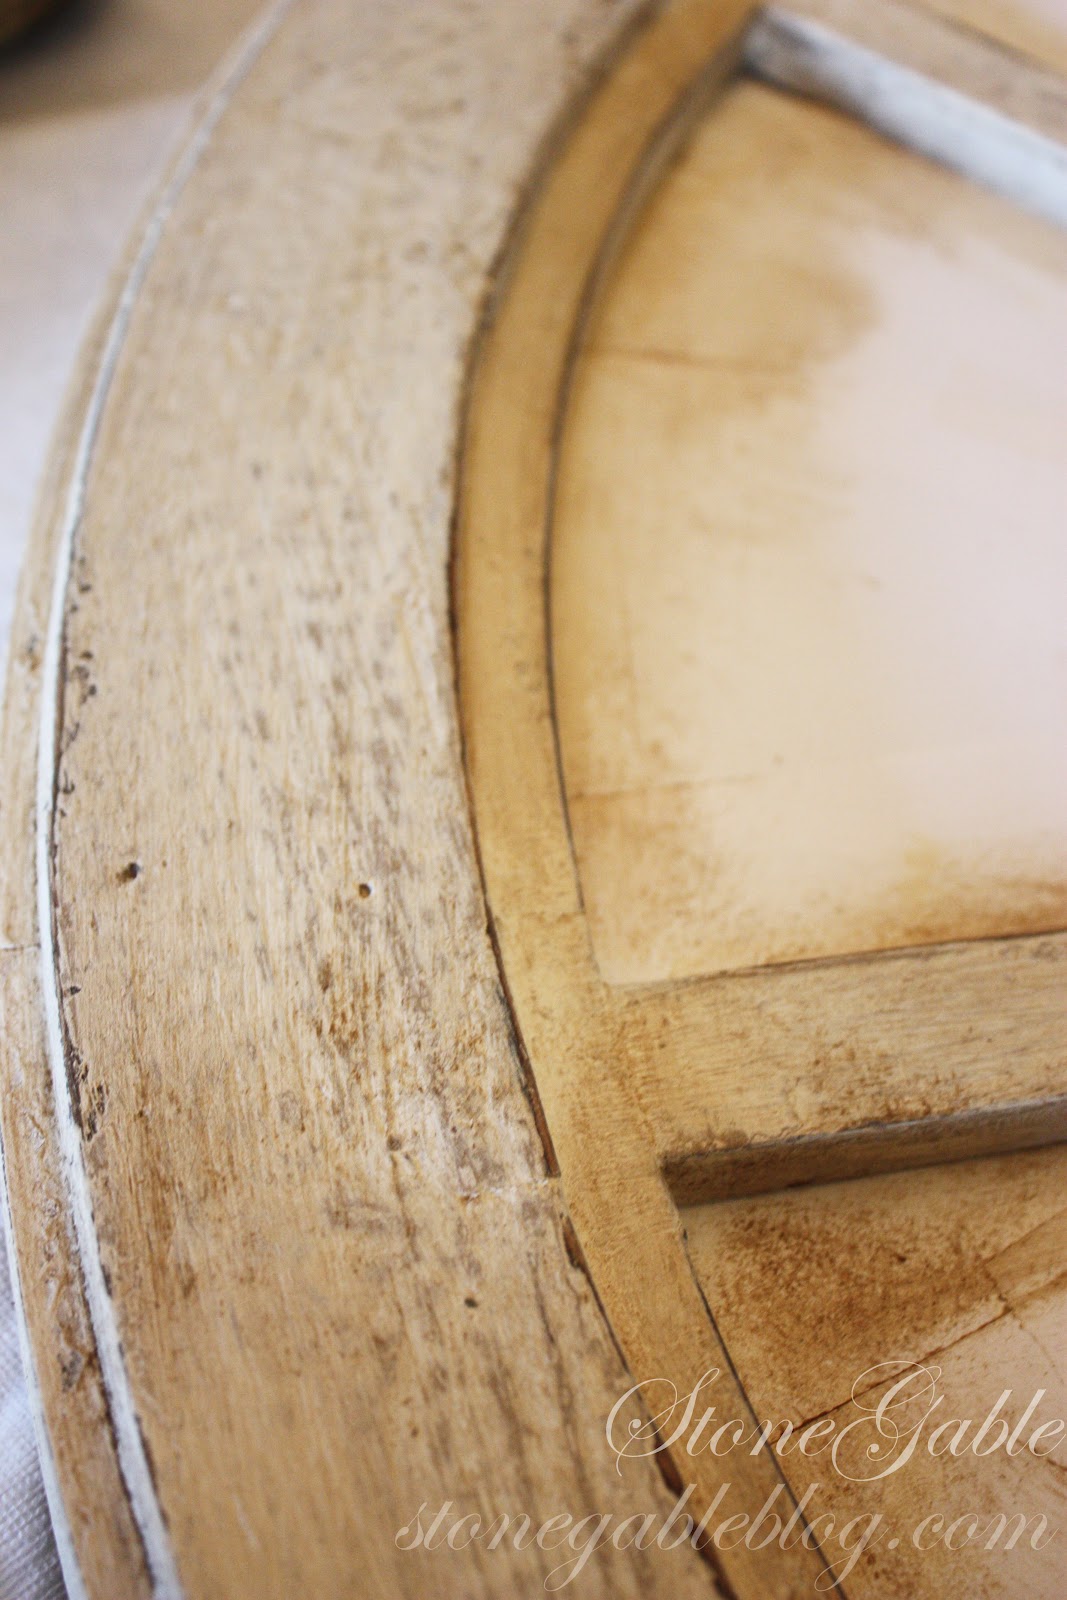
This is the "AFTER"! It hangs in a guest room that I am almost finished decorating. Making over this ugly duckling mirror was extra fun! I used the techniques I had learned in a recent Annie Sloan Chalk Paint painting class. Today I'm sharing the techniques that made this mirror into a swan...
Here is the "BEFORE"... The mirror has great bones and is very heavy so I knew that there was real potential under that horrid manufactured finish.
Ready to paint? Let's get started!
I'm sharing a lot of tips and tidbits along with the tutorial!
The beauty of a painted piece is building layers and layers of paint and wax, adding and removing and buffing until the process works together to create a masterpiece!
Suplies:
newspaper, white paper or anything to cover the glass of the mirror.
tape
Annie Sloan Old White chalk paint
Annie Sloan Pure White chalk paint
Annie Sloan Clear Wax
Annie Sloan Dark Wax
paintbrushes
wax brushes or white t-shirt type cloths
soft white clothes
sand paper 180, 200, 80 grit
small disposable paperware bowls
plastic spoons
lint free paper towels (Viva)
1~ Cover the mirror... I used white paper and taped it to the mirror. It is easy to scrape off paint, but getting wax off of a mirror is much harder! This is an important step!
2. Paint 2 coats of Old White ASCP on the mirror. Make sure the paint dries completely in between coats. Because the finish underneath was acceptable to see here and there I was not too too careful about getting every nook and corner covered. Just slap it on...it will turn out fine!
SG Tip: Pour your paint in a disposable paperware bowl. It makes it so much easier to dip your brush into the paint!
3. Using your wax brush (or a white t-shirt type cloth), work a small amount of clear wax into the paint. The biggest mistake when using wax is using too much. Just a little dab will do ya!
Work in a small area at a time. Use a little pressure and "scrub" the wax into the wood.
Let the wax dry~ I let it dry about 1/2 hour.
4. Now sand the mirror to get the paint smooth. I use 180 or 200 grit sandpaper. Because you have waxed it first you will pull up less chalk dust.
SG Tip: Keep a dust buster handy or a soft, just damp white rag and pick up the chalk dust as you go along.
5. Afer the whole mirror is sanded with the fine grit sandpaper, sand the areas you want to distress back with a coarser grit sand paper. Work in small areas at a time.. but keep the big picture in mind!
Pay attention to the edges and corners. I really roughed up my piece!
6. Once you are please with your distressing (you can go back later and do more), mix 1/4 tsp of dark wax with 2 tsp of clear wax in a disposable bowl. Use plastic spoons. This will be your "sludge" to wax and antique the mirror. If you do not use all of this sludge you can keep it for later use. I have small disposable cups, the kind salad dressing comes in, to store extra wax. Label the formula on the top of the lid with a magic marker.
SG Tip: Here is a link for these wonderful plastic cups and lids. I use them for so many things!
Using your wax brush for dark wax (or a white t-shirt type cloth), lightly scrub the wax over a small area and then using a white cloth (t-shirt type) rub the area to take off a little of the wax...not much will come off. If you like the look, let it dry.
If you think it is too dark, put a little clear wax (tiny) on a white cloth and rub off the dark wax. Work quickly.
SG Tip: Clear wax removes dark wax.
SG Tip: If for some reason the dark wax isn't budging, all wax can be totally removed by using mineral spirits on a cotton cloth applied to the the wax and rubbed off.
7. Once the wax is dry it can be buffed, using a white t-shirt type cloth, to a lovely lustre. Use a little elbow grease!
8. When everything is dry... dry brush the mirror with Annie Sloan Pure White chalk paint.
Here's how to dry brush:
Pour the AS Pure White Paint in a disposable bowl. Dip just the very tip or the "eyelashes" of the brush into the paint.
Swipe the brush on a dry, lint free paper towel.
Using quick, gentle strokes dry brush the mirror with the Pure White paint here and there. It should be soft and light and not heavy.
9. Let the mirror totally dry. I always give it 24 hours.
SG Tip: Put your piece in a place where you don't look at it for that time. Then when you look at it after the 24 hours you will have a fresh perspective. I almost always like my pieces much better after the 24 hour period!
10. Hang in the perfect place!!!
Remember TTT tonight at 8:00!
Please join me for TUTORIALS TIPS AND TIDBITS... share your DYT's, great tips and any little tidbit you wish to show us and show off!