


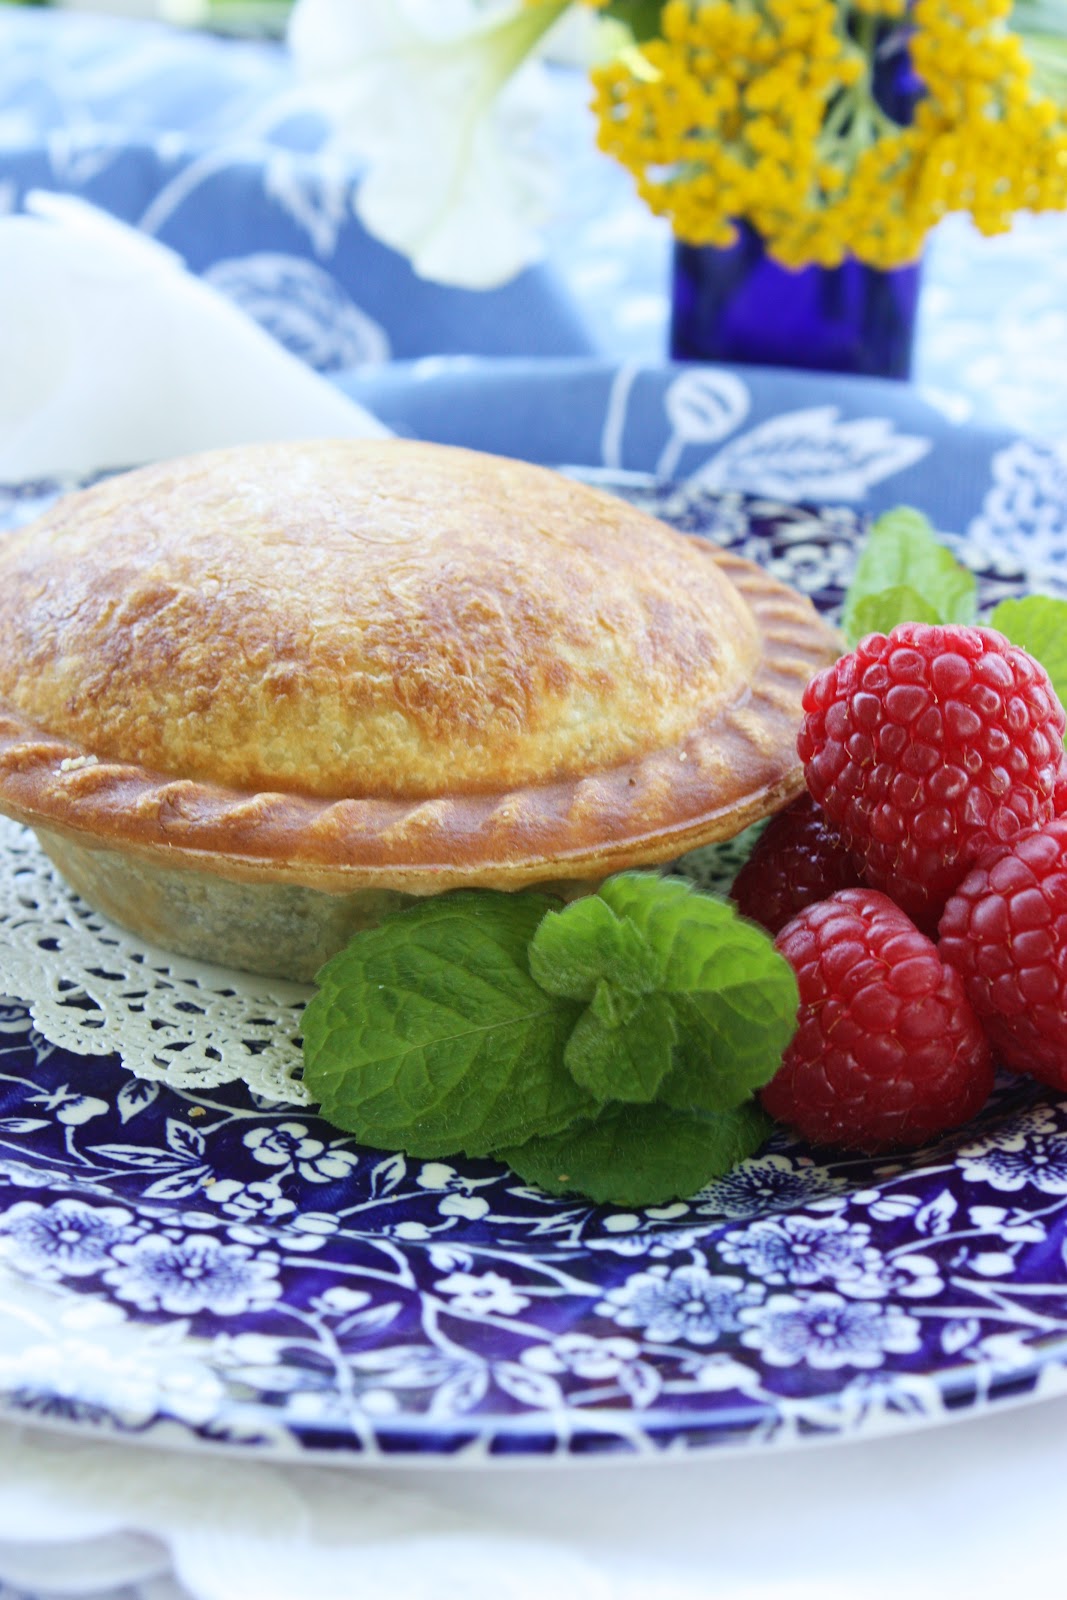
Summer is all about scrumptious fresh, just-picked flavors! What better place to put all those bright fruit flavors than in a pie... a cute little mini pie!
I have been a pie making machine lately. Me... the non-baker! Me... who LOVES the IDEA of baking... but when it comes to actually making pies... not so much! Me... who took nine years to learn how to make a descent pie crust!
My woeful pie making days are now over! Making these darling little mini pies was easy and so much F-U-N, FUN!...
The Breville Pie Maker (angel chorus singing... halo appears around Pie Maker)

I am not much of a gadget girl, but I have been flirting with the idea of buying a BPM for awhile now. When Wm-Sonoma had a $100.00 off promotion, I picked one up right away! A $49.00 investment was a terrific deal for a non baker to make towards pie making perfection!
Click HERE to visit the great folks at Wm-Sonoma and see the BPM!
I must confess my first attempts making pies with the Breville Pie Maker were NOT a smashing success. The pies came out way too brown... almost burnt on the top.
It took me another 2 tries to get what I would consider a stunning mini pie. I did a good amount of tweaking to the recipe and technique in the instruction book but it was worth the effort!
Now just look at the little darlings I can crank out...

Here are some HELPFUL facts to know when using the Breville Pie Maker...
~ The best pies do not use homemade pie dough Yes, I AM serious... really!! Store bought, ready made pie dough makes the best crust in this machine. Now, this IS my kind of pie making!!!!
~ The best pie tops are made from puffed pastry. Anything tastes better with puffed pastry!!! Sounds even better! The bottom crust is ready made pie dough and the tops are ready made puffed pastry. I sorta felt like I was a pie making cheater! Too easy!
~ The filling needed to be cooked as the pie "bakes" in the machine for a short period of time... too short to cook the filling. I cooked the filling beforehand, using frozen mixed berries, and added fresh berries when I filled the bottom crust. Again, so easy!
~ The instruction book calls for a fruit pie to be baked for 8-12 minutes.... WAY TOO LONG! Like I said, I burnt my first couple of batches of pies. This is what worked best for me... I baked the pies for 5 minutes with the lid down, until the top of the pie was golden brown and then continued to bake them with the lid up for another 3-4 minutes until the bottom crust was done. This seemed to work perfectly!!!
~ The pies were delicious hot, right out of the pie maker. When cooled, they store well in an airtight container for a few days. We keep eating them as fast as I make them, so I don't know how they freeze.
~I have been cutting out circles (the cutters come with the pie maker) of pie crust and puffed pastry and freezing the rounds. That way I have practically no mess when I want to make pies.
~ This is addictive! Now whenever anyone invites me for a meal, I'll volunteer to make pies for dessert!

STONEGABLE ALL-AMERICAN MINI PIES
(makes 4 mini pies)
1 package ready made, preformed pie dough
1 package puffed pastry
flour for dusting
1 1/3 cups mixed berries (I used blueberries, raspberries and blackberries), thawed
3 TBS sugar
2 TBS flour
1/2 tsp lemon zest
1 TBS lemon, freshly squeezed
1/2~ 2/3 cup fresh berries (I used blueberries and raspberries)
extra berries for garnish
mint for garnish
Plug in pie maker...
Combine berries, sugar, 2 TBS flour, lemon zest and lemon juice in a small saucepan and gently stir to mix. Cook over low heat until bubbly, stirring occasionally. Cook about 5 minutes until filling gets slightly thick. Take off heat and reserve.

Flour a work surface. For some odd reason, I really LOVE to do this!

Follow directions below for each image...

1. Take pie dough out of the package and lay dough on the floured surface.
2. Cut out 4 bottom rounds with the bottom pie crust cutter. Put aside.
Put 1 sheet of puffed pastry from the package and lay on the floured sheet. Lightly roll the puffed pastry with a rolling pin to get rid of the creases, but do NOT stretch the pastry. Using the "top" cutter, cut out 4 pie tops. Set aside.
3. Press the pie dough into the bottom of the each pie cup with the "pastry press".
Fill each pie with 1/3 cup of pie filling. Add a small handful of fresh berries to the top of the filling.
Put the puffed pastry tops over the pies.
Close lid and bake for 5 minutes. Open lid and see if the pie tops are golden brown. If not, close the lid and continue to cook, checking every minute.
If the pie tops are done, leave the lid of the pie maker up and let the bottoms continue to cook for an additional 3-4 minutes, until just slightly golden.
Remove pies from pie maker to a wire rack to cool.

The Breville Pie Maker is a fantastic small kitchen appliance!
The sky is the limit when it comes to pie making....
fruit pies... meat pies... veggie pies... fruit tarts... cream pies... nut pies... tartlets... quiche...turnovers...
I am also going to see what happens when I put ready to bake biscuits, rolls, cookies dough and pizza dough in it! How about mini monkey bread, bread pudding or calzones?

Yvonne, your pie is beautiful if one can call a pie beautiful. It looks perfect and browner perfectly. I think I might have to get one of those little baker's. Oh, you can make my pie apple, please.--------- Shannon
ReplyDeleteOh my, maybe there's hope for me. I'm getting one of these little goodies! Thanks for the inspiration! Cherry Kay, Pie Maker....sounds too good to be true! Cherry Kay
ReplyDeleteI saw that W-S special too-it was a beauty! Your tips are priceless Yvonne, love it when folks in the real world use a product and share what worked for them:@)
ReplyDeleteYour pies look delightful! This could be dangerous even thinking about buying the pie maker! Gotta go! I think William Sonoma is calling me right now!
ReplyDeleteI'd like apple please. No fancy pies for me. I've never seen on of these machines but now you've gotten me curious and I'll have to check it out.
ReplyDeleteI went to a demo at WS on the BPM. I love your tips, Yvonne. The girl there was making pizza pies. I really wanted to try a fruit filling. Yours look ADORABLE! I'm sure I would love one, but I didn't know if they were too small??
ReplyDeleteFINALLY!!!!! I, too, can make PIES!!!!! I can NOT make a decent pie crust so using the premade ones is PERFECT!!! I have never used puff pastry but am willing to try. These are adorable! Thanks......again! XO, Pinky My post is right above yours on Blogger:):)
ReplyDeleteOh what FUN!!!
ReplyDeleteOur problem is we love fruit pies but are empty nesters....and we have no right whatsoever to eat a whole regular sized pie - this looks perfect for 2 to split?
I would love one of those but need a $100 coupon too!!
Thanks, Yvonne - great tutorial and gets me really wanting one.
Hope you were compensated for that- you will sell a ton of them for WS!! : - )
No compensation, Michele. W-S knows nothing about my post!
DeleteYvonne, I agree with all of your tips. I have been using the same pie maker for about six weeks now, and my favorite pie so far is rhubarb! I even take the pie maker to our camp with us on the weekends since it is so easy to transport. Great tutorial and photos!
ReplyDeleteI'm not a big pie person but I think this machine could make me one! Thanks for the great post Yvonne, these little gems just make me want to run down to WS.
ReplyDeleteYvonne, Your pie looks so delicious. I will have to check this machine out and
ReplyDeletesee if and when it goes on sale again. I have no success making pies. My husband hired
a baking coach to come to the house to teach my niece and myself how to make pie
dough from scratch and filling. They were delicious but I still can't duplicate
her recipes.
Denise Lamb
This must be an awesome machine!! Pies look delish.
ReplyDeleteYou make it sound so easy! I may have to drop a hint to my husband about that pie maker. And anytime you're in Texas, please do drop by for dinner!
ReplyDeleteGreat looking pies Yvonne. I have never seen a pie maker before. Your pies look perfect and I would love to taste one.
ReplyDeleteYvonne, thank you for finding my blog so I can enjoy your beautiful corner of the " blogosphere" ...and receiving a compliment from an artist like you makes me flattered and humble
ReplyDeleteWow, your pie looks fabulous!!! I never would have thought of using puff pastry for the top, great idea!
ReplyDeleteYvonne,
ReplyDeleteI have wanted one of these for over a year now, but reading the reviews on Wm-S's site made me iffy. But you have seemed to perfected the procedure. Did you order the pie lifter? I wondered how difficult it would be to take them out of the machine. Did you get the cookbook advertised with the machine? Looking at the site I found a great looking breakfast pie that sounded fun.
Again I LOVE LOVE LOVE your blog and visit you several times a week. You are always my first stop.
P.S. I made the laundry soap and it's wonderful!!!
Hi Ann, I did not get the pie lifter. I use my 97 cent bamboo toast tongs to lift the corner. EAsy!
DeleteI'm not a pie maker either. Actually any pies in our home are made by hubby. His specialty is rhubarb custard!!! Yours looks delicious!!!
ReplyDeleteWow! Those are so cute! I want a Breville pie maker now, too! Thanks for your visit to my blog! Your blog is absolutely lovely! I'm following now! :)
ReplyDeleteI am AFRAID of homemade pie dough Yvonne so this sounds just right for me. I bake, a lot, for holidays, but never pies. Perhaps this will change. Thanks bunches:}
ReplyDeleteA few of my blogger friends bought this when they were on sale recently I abstained claiming I didn't need another appliance. They are soooooo cute, though!
ReplyDeleteThanks for sharing all this information. I love to bake pies.
ReplyDeleteMy DIL gave me one of these a couple months ago. What fun! I screwed up a few times too, but once you get the hang of it, the pies are perfect.
ReplyDeleteI meant to stop by on Friday when I saw these on FB and forgot. I bought a mini pie maker during the winter...not a Breville. I too had to make adjustments. The first pies I tried were apple and they tasted great! Getting them 'out' of the pie maker was another story. I'm going to save your suggestions for future pie making attempts. :-) I thought it would be great to have one of these during the summer when there are fresh berries and no oven to heat the house.
ReplyDeleteThanks for sharing!
xo
Pat
I have the pie maker and did decide to get the pie lifter. It is great and so easy to get the pies out. Glad I did get the pie lifter. It helped that when I bought the pie maker at WS before Christmas they gave me a ten dollar off coupon for my next purchase . I used it on the lifter so it only cost me three dollars and change!
DeleteI am ccurious about if you put your dough in when the machine is already hot or when it has preheated. I have burned myself and created all sorts of dough disasters trying to get the dough in the machine after I have preheated it. I have finally given up and resorted to calmly placing them in the cool machine and THEN turning the machine on. . . What is your method?
ReplyDeleteYvonne,
ReplyDeleteJust made peach pies following the WS recipe (and your instructions with regard to timing). They came out wonderful (the vanilla ice cream helped as well) served warm. Have you done any more experimenting with this fun machine?
How do I get the top center to cook completely like yours?? The edges browned too much but the center was light doughy and not cooked :-(. I thought I put enough filling. Is it just a matter of putting enough filling or is there a trick to this? It was my first try so I do need to practice and tweak.
ReplyDeleteHow do I get the top center to cook completely like yours?? The edges browned too much but the center was light doughy and not cooked :-(. I thought I put enough filling. Is it just a matter of putting enough filling or is there a trick to this? It was my first try so I do need to practice and tweak.
ReplyDeleteI've had this appliance for about a year now and have had a lot of fun with it. It does take some experimenting with to get a nice looking, evenly browned pie. I especially like your suggestion to continue cooking with the lid up if the top is already brown. Never thought of doing that! Other things I've found that helped are: letting it preheat twice before starting, be sure to fill bottoms enought (1/3 cup) or the tops will unevenly brown, and watching it carefully - it does cook quicker than stated in the instructions. I love the pie lifter - makes it so easy to get out. To avoid burned fingers and shrinking dough, I leave the top open for about 30 seconds after preheating before starting. This definately helps! I'm a gadget nut and this is definitely one of my favorites!
ReplyDeleteHi Yvonne,
ReplyDeleteFirst I want to say, you are the first site to have meaningful pie maker tips. I noticed you said store pie crust is better than homemade. Well, I figured out how to use homemade crust with success. The taste is so much better. Please see some of my tips. I know they'll help. I've been having fun with these things. Mini pie makers can be tricky to use. Some will burn your crust. Some have a difficult time baking the center of pie tops. The list goes on. However, I'm determined to bake a perfect mini pie that I can share with family and friends. I post my pie maker results hoping you learn from my failures.