

I enjoy the process of painting furniture. I think it is very artistic...
I am tackling the Herculean job of reupholstering eight dining room chairs. But not only reupholstering them... painting them too!
If you have missed REUPHOLSTERING A CHAIR, PART I... deconstructing the upholstery, click HERE.
Once the chairs were without fabric... and all the mess that came with that... I could not wait to give them a new look with paint...
Here is the before picture of the 18th Century mahogany chairs. If you can't imagine painting over 18th century furniture, now is a good time to divert your eyes!
You can't believe how many e-mails I got trying to convince me NOT to paint them!

These chairs are 26 years old and are in absolutely perfect condition... a real testimony to the quality of Ethan Allen!!!! But I need a change! So what's a girl to do? Paint them... of course!
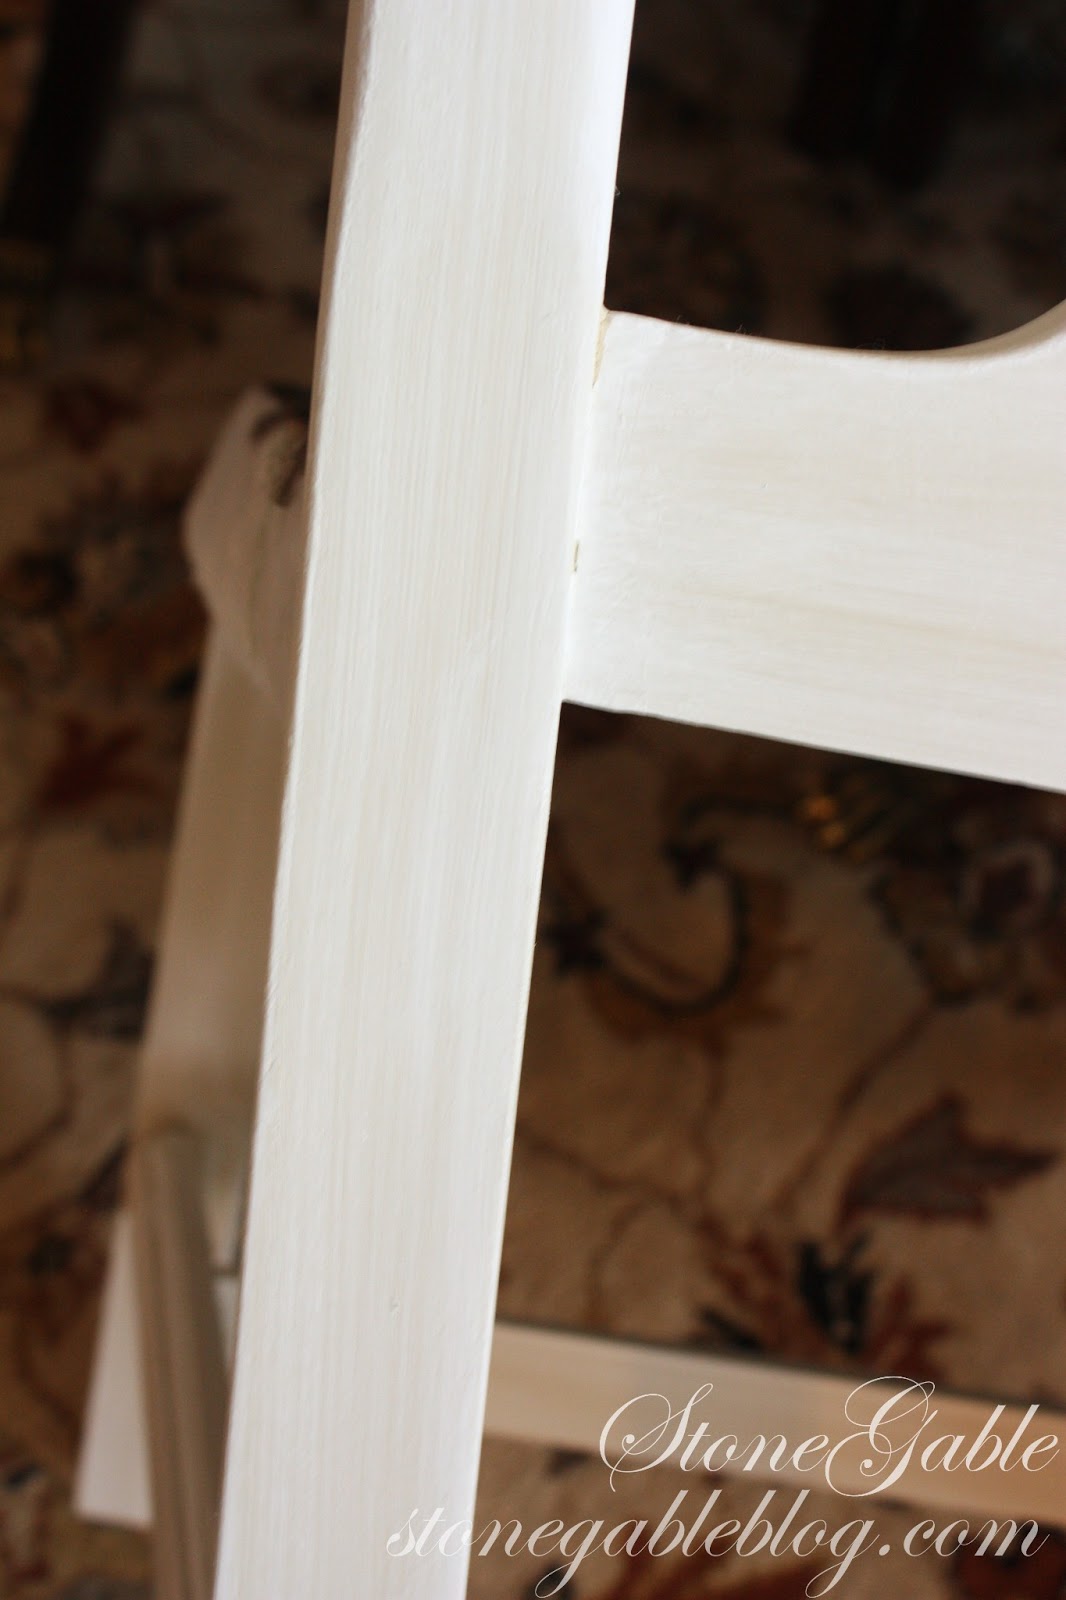
Just had to give this chair a swipe of paint to see the difference!

The first thing I did was decide what color and finish I wanted for the chairs.
I was pretty sure I wanted to create a "washed look" on the chairs.
Using 5 inch sections of crown molding, I painted one with ANNIE SLOAN CHALK PAINT in Pure White and one with ANNIE SLOAN CHALK PAINT in Country Grey.
I buy a large piece of crown molding and have the kind people at my local hardware store cut it into 5 inch sections. These are my practice boards.

Then I applied a "wash" of country grey over the pure white base and a "wash" of pure white over the country grey.
The effects were dramatically different!
Same colors... applied differently! That is why I always practice before I paint anything!

I decided that the Country Grey (CG from now on) with a wash of Pure White (PW) was the look I wanted.
So I set up a work station in the foyer... turned my chair upside down on the table and went to work painting it CG.

Base coating is like grunt work to me! Not very interesting!!!! But I paint a little differently than most ASCP painters. I don't slap on my paint. I really try to paint in the direction of the wood grain.
After two coats of of CG I lightly, gently, sweetly sanded the whole chair. I know that most ASCP painters will tell you to put a coat of clear wax on it first... but it does not get as smooth as I like that way.
Then I washed the whole chair in PW. Removing the PW with the grain of the chair.

You can see the lovely striated marks it makes on the base of the chair. This is the look I wanted!
When the chair is completed, the "stripes" will be quite subtle.
I will do a tutorial next Wednesday showing this technique.

Here's a look at the back of the chair leg.
The next step was to wax with ANNIE SLOAN CLEAR WAX and buff it with a soft, clean rag...
You can see how it is beginning to get an aged look with a pretty luster...

Working in small areas, I applied clear wax and before it dried applied a light coat of dark wax over it. Working quickly, I rubbed the dark wax off of the chair. This defined the intricate cut out work of the chair.
If there were areas that had too much dark wax on them, I rubbed it with clear wax on a soft, clean rag and that would usually take much of the dark wax off.
Then I gave the whole chair a good buff with a soft, clean rag.

To bring out the carving in the chair, I dry brushed it here and there with PW.

You can see how the curved flourish picked up the dry brushed PW and stands out.

I also dry brushed the body of the chair lightly...

One more coat of clear wax and a good buffing and the chair was done... or at least the painting!

From this....
To this....

Today I am starting to upholster two of the chairs that have been painted and cured.

To see the chair fabrics, click HERE.
I have never done this before... YIKES!

I love the color combo you used, Yvonne! The way the detail stands out now is amazing. I love the look. Wow, I didn't realize you were having to deal with webbing. I thought when you spoke of this project originally it was a "remove the seat and staple on new fabric" project. I wouldn't even know where to start here, but I guess there are probably tutorials out there to help. I can just imagine how beautiful they are going to look all done!
ReplyDeleteI love the way the two colors turned out together. So elegant. I have a Chippendale table and chairs in my garage that I'll tackle one day and I may do the table with these colors and the chairs in black or gray. It is so hard to decide. I love the fabric you picked as well. I'll look forward to your tutorial and end result. Blessings, Patti
ReplyDeleteI love the color, and the fabric is gorgeous.
ReplyDeleteKathy
Just beautiful.... you really brought out the beauty of the lines in the chair and I love the fabric.
ReplyDeleteI love your fabrics, they are stunning. Can't wait to see the chairs all done. Hugs, Marty
ReplyDeleteThanks Yvonne, This was very helpful and detailed. Your chairs are lovely.
ReplyDeletejust gorgeous Yvonne, you're really bringing out all the wonderful detail. Painting chairs is such a huge job. I know they'll be works of art when you're finished!
ReplyDeleteWhew! The final look of the finish is amazing and so professional! It appears that you are an expert at doing this. Everything you try turns out fabulous!
ReplyDeleteNot everything... not even close! I just show the things that do!
DeleteI love how the paint revealed the beautiful details on the chair...you must be so pleased!!
ReplyDeleteBeautiful paint job Yvonne! When you say "wash" does it mean you're diluting ASCP with water?
ReplyDeleteLeslie ( Gwen Moss)
I'm posting a wash tutorial on Wednesday.
DeleteStunning
ReplyDeleteI Love it I was looking for a look for my bedroom set and i want to do it similar after seeing you do it!! Will take my boring yet sturdy Stanley Bedroom set and make it Beautiful What do you mean when you say PW? I know I should know that but I forgot and I just can't wait for you to do the fabric I hope it's a big thick cushion!! I did matching Lumbar pillows on my set and di the chairs in silk material. I can keep it clean. But I can't wait to see what you do!1 Love it...Lisa
ReplyDeleteWow - you certainly have the painting technique down - that's what makes the difference. Can't get over the cifference in the two samples, changing which color was on top! I like the CG with OW on top best, too. Can't wait to see a chair with the fabric seat - gorgeous fabric! Linda
ReplyDeleteI love it Yvonne, the chair looks gorgeous. I'm looking forward to seeing them all dressed in the new fabric.
ReplyDeleteWell, for not having done this before, it is turning out so well! Gorgeous!
ReplyDeleteabsolutely NO comparison...i love, LOVE the 'new' chair! Esther
ReplyDeleteI am in LOVE! It is sooo beautiful and the color could not be more perfect!! Can't wait to see it with its fabric!!
ReplyDeleteI love the finish!
ReplyDeleteLooks so pretty! Can't wait to see her finished...
ReplyDeleteBlessings,
Cindy
How pretty, Yvonne! I love the way you painted the chair. :D I look forward to seeing it once the upholstery is done.
ReplyDeleteBeautiful materials dear Ivonne...you got such great eye for this! Can't wait to see the Chippendale lovely chair finished, too. Big hugs,
ReplyDeleteFABBY
Yvonne, I have loved all your posts about painting furniture! You have truly been an inspiration to me. I have an Ethan Allen bedroom set, handed down to me from my grandmother. It looks dated in my bedroom, and I was considering getting rid of it--but now, I think I'll try painting it. Ethan Allen furniture is so well made--perhaps a little color will be just the thing it needs. Thank you so much for sharing all your wonderful talents with us!! xo
ReplyDeleteYvonne,
ReplyDeleteI'm so~o~o glad you didn't let others talk you out of painting the chairs!!!
While, I many times agree that the wood is lovely...you finished result is splendid!
I, truly, believe that you have enhanced the details of the chairs!
Although they are beautiful stained...they are exquisite painted!!!
Extremely elegant transformation!!!
I don't use the same products, or as many steps,
but I do enjoy painting and adding stain to enhance and update furniture!!!
I'm returning for your tutorial...
I have a gorgeous Ethan Allen Chair that needs new upholstery! :)
Fondly,
Pat
You are painting your 26 year old chairs, not 18th century chairs. Big difference.
ReplyDeleteI like what you are doing to the chairs.... I have my parents dinning set.... which needs refinishing as it was used for 60 years each night and each night my mother put her wrist just so on the edge.... you get the picture. My kids don't want the table as it sits low. I think the legs at one time had wheels or some such and the table would have set higher.... and by painting I can have something made to add the height!!!! And by painting the next generation can redo it and refinish... another words the material is still good. This table has seven-nine leaves so a refinish is a killer.... but it will be nice to have in the family the six times we have all relatives over to eat!! Your explanation of the painting does make think I need to get geared up to do this.....it is going to be A LOT of work - abet just once - but still.
Can't wait to see the next installment!
Those chairs are going to be beautiful Yvonne!!
ReplyDeleteAbsolutely gorgeous. You certainly made the right call in painting these. I cannot wait to see the finished chairs.
ReplyDeleteAnd I've started asanding before waxing, too. I like a super smooth finish. In fact, often I sand more by feel than by sight.
Yvonne~ What a labor of love! Your highlighting and waxing bring out the chair's details beautifully! I can't wait to see the end result with them upholstered!
ReplyDeleteSimply stunning, Yvonne. And like Mary said - a labor of love. I'm sooo looking forward to seeing the final result. I know it's going to be fabulous.
ReplyDeleteYvonne, I don't comment often but I had to tell how nice the chairs look ...can't wait to see them upholstered! I admire your patience as you worked through each phase of the project and I like that the little extra steps you took really made the difference between a good job and a stellar one! Thank you for sharing this venture.
ReplyDeleteThank you for this tutorial...excellent directions, even for the beginner. The chairs look like old swedish antiques. Great inspiration. Again, thank you for sharing!
ReplyDeleteWhat a great tutorial. I am going to use a practice board next time. It will save me alot of errors. The chairs look beautiful and I can't wait to see a full view of the entire finished chair.
ReplyDeleteI like the painted look. While I do love wood too, the chairs would have been something I would have been in the paint 'em group. Looking forward to the after on these.
ReplyDeleteBliss
Beautiful job so far. Looking forward to the end result
ReplyDeleteYou are one brave lady to paint those chairs! I don't think I would have the courage to do that. With this said, your courage turned out one really beautiful chair! I am now on the look-out for some chairs to do what you are doing...Thanks for the inspiration!
ReplyDeleteYour chairs are turning out beautifully. Your attention to detail is shining through. I can't wait to see the final product.
ReplyDeleteNothing brings out beautiful carvings like a lighter shade of paint.....it makes the shadows in the carvings show up so well! Your technique looks wonderful and the layering makes a difference! Can't wait to see them all done! I have dining room chairs to do also so this is inspiring me to get to it!
ReplyDeleteI commend you for your "inch by inch" attitude in tackling such a huge project. The chairs will be stunning! Hey, you can always strip them 26 years from now! Ha!
ReplyDeleteFirst, congratulations on our courage, Yvonne! I would NEVER have had the courage to paint those beautiful chairs for fear of ruining them, but then again, you're a pro--you know what you're doing. It's obvious that you do, because your work is absolutely beautiful! If I knew I could do that, I'd paint them too! Wow. I can't wait to see the whole dining room! ~Zuni
ReplyDeleteSimply gorgeous! What a great tutorial.
ReplyDeleteYour work is exquisite.
ReplyDelete