Thursday, October 29, 2009

Folding a Chevron Napkin


FOLDING A CHEVRON NAPKIN:


I'm joining Mary at Little Red House for Mosaic Monday! A visual delight!


Nothing says elegance and care like sitting down at a table to find a beautifully folded napkin.

In recent years this has become a dying art. No longer popular, these tangible acts of hospitality have been replaced with a more casual, less staged look.  I like both ways of placing a napkin on a table, but I love the creativity of folding a napkin.

In yesterday's blog, Cheery Pear Tablescape (10-28-08), I chose a yellow chevron folded napkin to tuck silverware inside (go check it out).


As promised, here is my tutorial of how to fold a chevron envelope napkin:

*Grab a paper napkin. If it is not a square, cut it into a square. This is your practice napkin. Please ignore directions to iron your practice napkin.  DO NOT IRON IT! Now go on, get one... I'll wait...
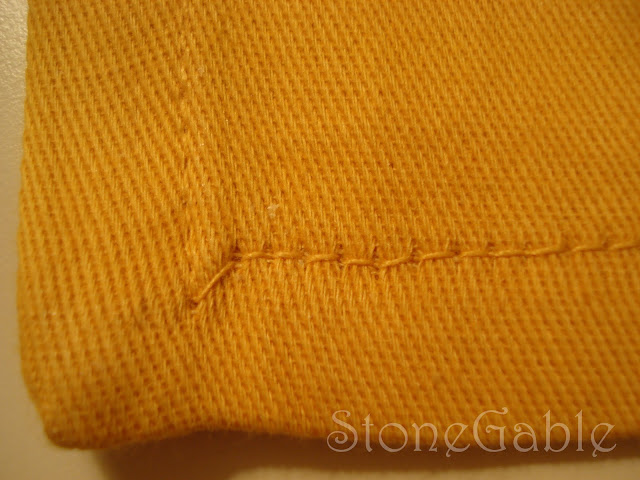
*The secret to folding a well done napkin is to choose the right size and fabric for each fold style. For the chevron, I used a 19 inch square napkin of heavy cotton.


*Ironing the napkin will insure crisp folds and a smooth surface. Iron after each step. If you do not own an iron you can still fold this napkin, the results will be nice, just not as crisp.


* fold the napkin in half


* fold in half again


*position with open point at the top


*fold down the first layer almost to the bottom- CENTER POINT


* fold the next layer on top of the first, let the hem or a small border show of the first layer- CENTER
POINT


*continuing folding the next-to-last layer down, leaving a border of the layer before it showing- CENTER POINT


*turn napkin over, folded side down and at the bottom
* fold in the left point of the napkin towards the center about 1/3 of the way- DO NOT PRESS YET


* fold in the right point of the napkin toward the center, slightly overlapping the other side about 1/3 of the way - DO NOT PRESS YET


* turn over and make sure the top point is CENTERED. If not adjust the folded sides. Press


* tuck silverware, nametag, decoration, etc. in envelope pocket.


Yea! YOU DID IT! Now, go make a pretty table!


Wednesday, October 28, 2009

Cheery Pear Tablescape

Cheery Pear Tablescape:


Today's Tablescape was inspired by a very much overlooked part of the season- Pears!  So much attention is paid to those beautiful pumpkins, goards and squash that we often forget pears are at the height of their season too.  Sweet, perfummy and delicious. Pears are stars in their own right, so they became the inspiration of this bright and cheery table.

I found these great pear bowls (Sorry, I can't remember where) and tucked them away, knowing that I would use them this fall.  I decided to pair them up with a rich yellow, black and white.


A plain white tablecloth is the perfect background to allow all the bright colors to stand out.  The black and white placemat is really a sturdy cotton napkin folded over from the top and ironed flat.  I like these heavy napkins just for that purpose.  They double very well as a placemat and no one will know the difference.


The handpainted pear bowl is not only pretty, the shape is interesting.


Checked salad/dessert plates.  I bought these not long ago and I am on the look-out for more.  I think they could be used in so many ways. (HomeGoods)


These square yellow plates are true workhorses!  I love, no I'm obsessed with, yellow. The only dishes I use more are my Mikasa Italian Countryside. (Wegman's)


Mikasa Italian Countryside:


The mugs match the square plates.  This will give my guests a large cup of coffee or tea while we tarry over dessert.


The gobblets are a bubble glass.  They were waiting for me on a sale rack and I couldn't pass them up.
They will be very versatile and will go with almost anything. (Reading China and Glass)


The creamer and sugar bowl match the square plates and mugs.


Folded napkins are like a lost art, yet so easy.  They fell out of vogue a couple years ago, but I am trying to bring them back into the good graces of hospitality and entertaining.  They add panache and an unspoken message that you took time to fuss over your guests. The heavy cotton texture and rich "raincoat yellow" color pair brightly with the matching square plate.

This cheveron folded envelope is so fun and so easy.  I will post a how-to fold a cheveron napkin tutorial tomorrow.


The centerpiece grouping is a cacophony of pears. A 2 tiered plate rack holds faux and real pears. Mixing them up gives them interest.


A large pear not only adds a tall element, but also a "big" surprise!


Green porcelain pears are elevated on wrought iron pedestals.


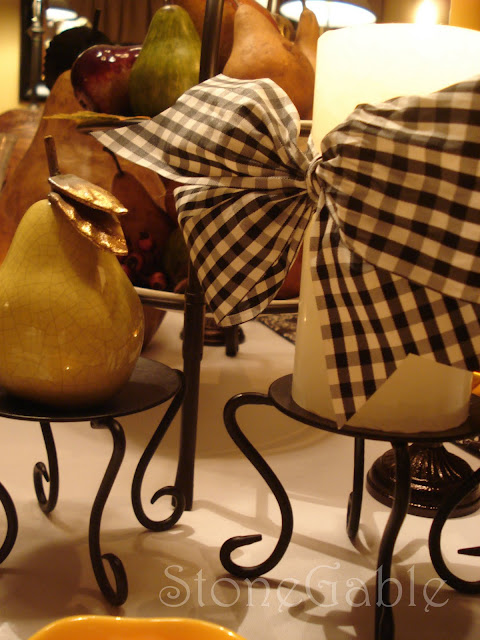
White pillar candles tied with taffeta gingham bows sit on wought iron pedetals, too.  I could not find the exact yellow candle I wanted, so I usesd white and tied black and white bows around them.  The candles burn down into the base of the candle, but just the same, I am very careful when I burn them.


Yellow candles in black candlesticks, gives a punch of color.


I added this little stone bird just because!


Now that the table is set all I need are the guests, for a perfect "pearing" of food and good friends!


The Menu:
Prosecco
Pear Waldorf Salad
Chicken Parisian (Chicken breasts stuffed with herb cheese and ham in puffed pastry)
Rice pilaf
Honey glazed carrots
Pear and Cranberry tarte tatin
Coffee/Tea

Thank you Susan for hosting today's Tablescape Thursday. Go over and see all the beautiful, fun and scary tables.